Configuring Payment Links
Configuring Payment Links
Configure payment link usage rules, customer information collection, and custom fields.
Setting Link Usage Rules
When creating a payment link, you can choose how the link is used.
Single Use
When single use is selected, the link only allows one transaction to be paid successfully. Once payment succeeds, the link will be automatically deactivated, and customers can no longer use the link or its corresponding QR code to make payments.
Multiple Use
When multiple use is selected, the link can be used to complete multiple payments. You can set the number of allowed completed payments or the link's expiration time as needed.
Once the payment limit is reached or the expiration time passes, the link will be automatically deactivated. Links deactivated due to exhausted payment counts or expiration cannot be re-enabled. To continue collecting payments, please create a new payment link.
To set link usage rules:
- Open the Payment Links page in the Merchant Dashboard, then click Create Link.
- Choose how the link will be used.
- If multiple use is selected, set the number of allowed completed payments or the link's expiration time as needed.
- After completing the other configurations, click Create Link.
Collecting Customer Information
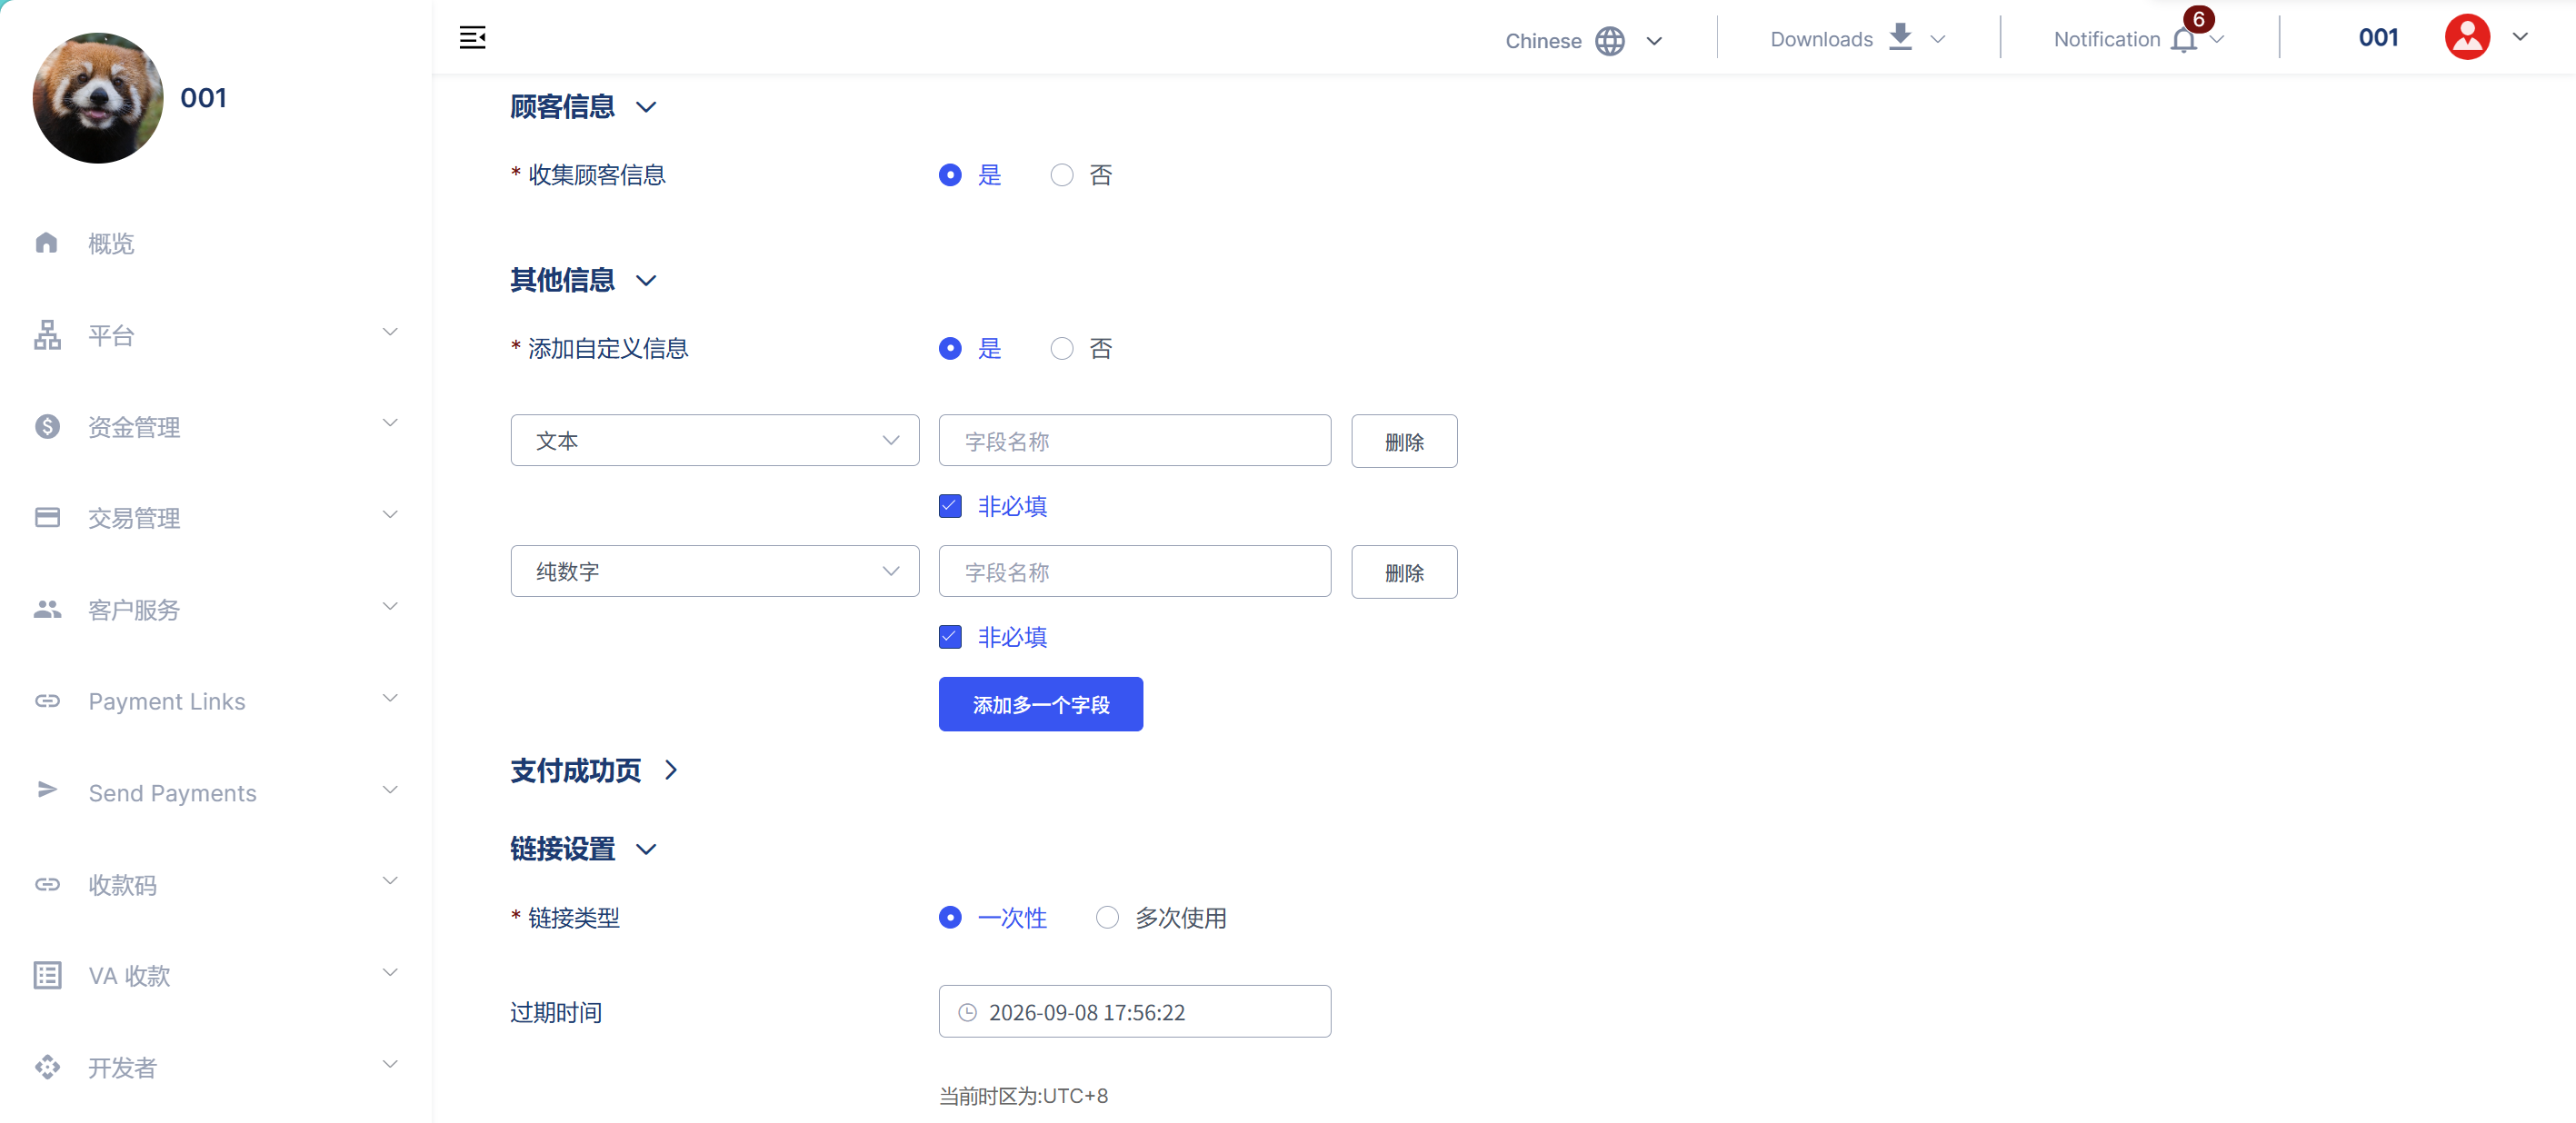
If you need to collect customer information during payment, you can enable "Collect customer information" in the "Options" section of the payment link. Once enabled, the payment page will collect the customer's name, email, and phone number.
- When creating a payment link, locate the "Options" section.
- Enable "Collect customer information".
- After completing the other configurations, click Create Link.
Adding Custom Fields
If you need to collect information other than name, email, and phone number, you can add custom fields of text or numbers-only type and display them on the payment page.
Do not use custom fields to collect passwords, payment credentials, identity authentication information, or other sensitive, protected, or legally restricted information.
To add a custom field:
- In the "Options" section, click "Add custom field".
- Select the field type to add.
- Enter the field label to display to customers.
- After completing the other configurations of the payment link, click Create Link.